
ARIGETA
SKILLS
3D Modelling /
3D Printing /
Laser Cutting /
Microcontroller Programming /
Wireless Networking /
CNC Milling
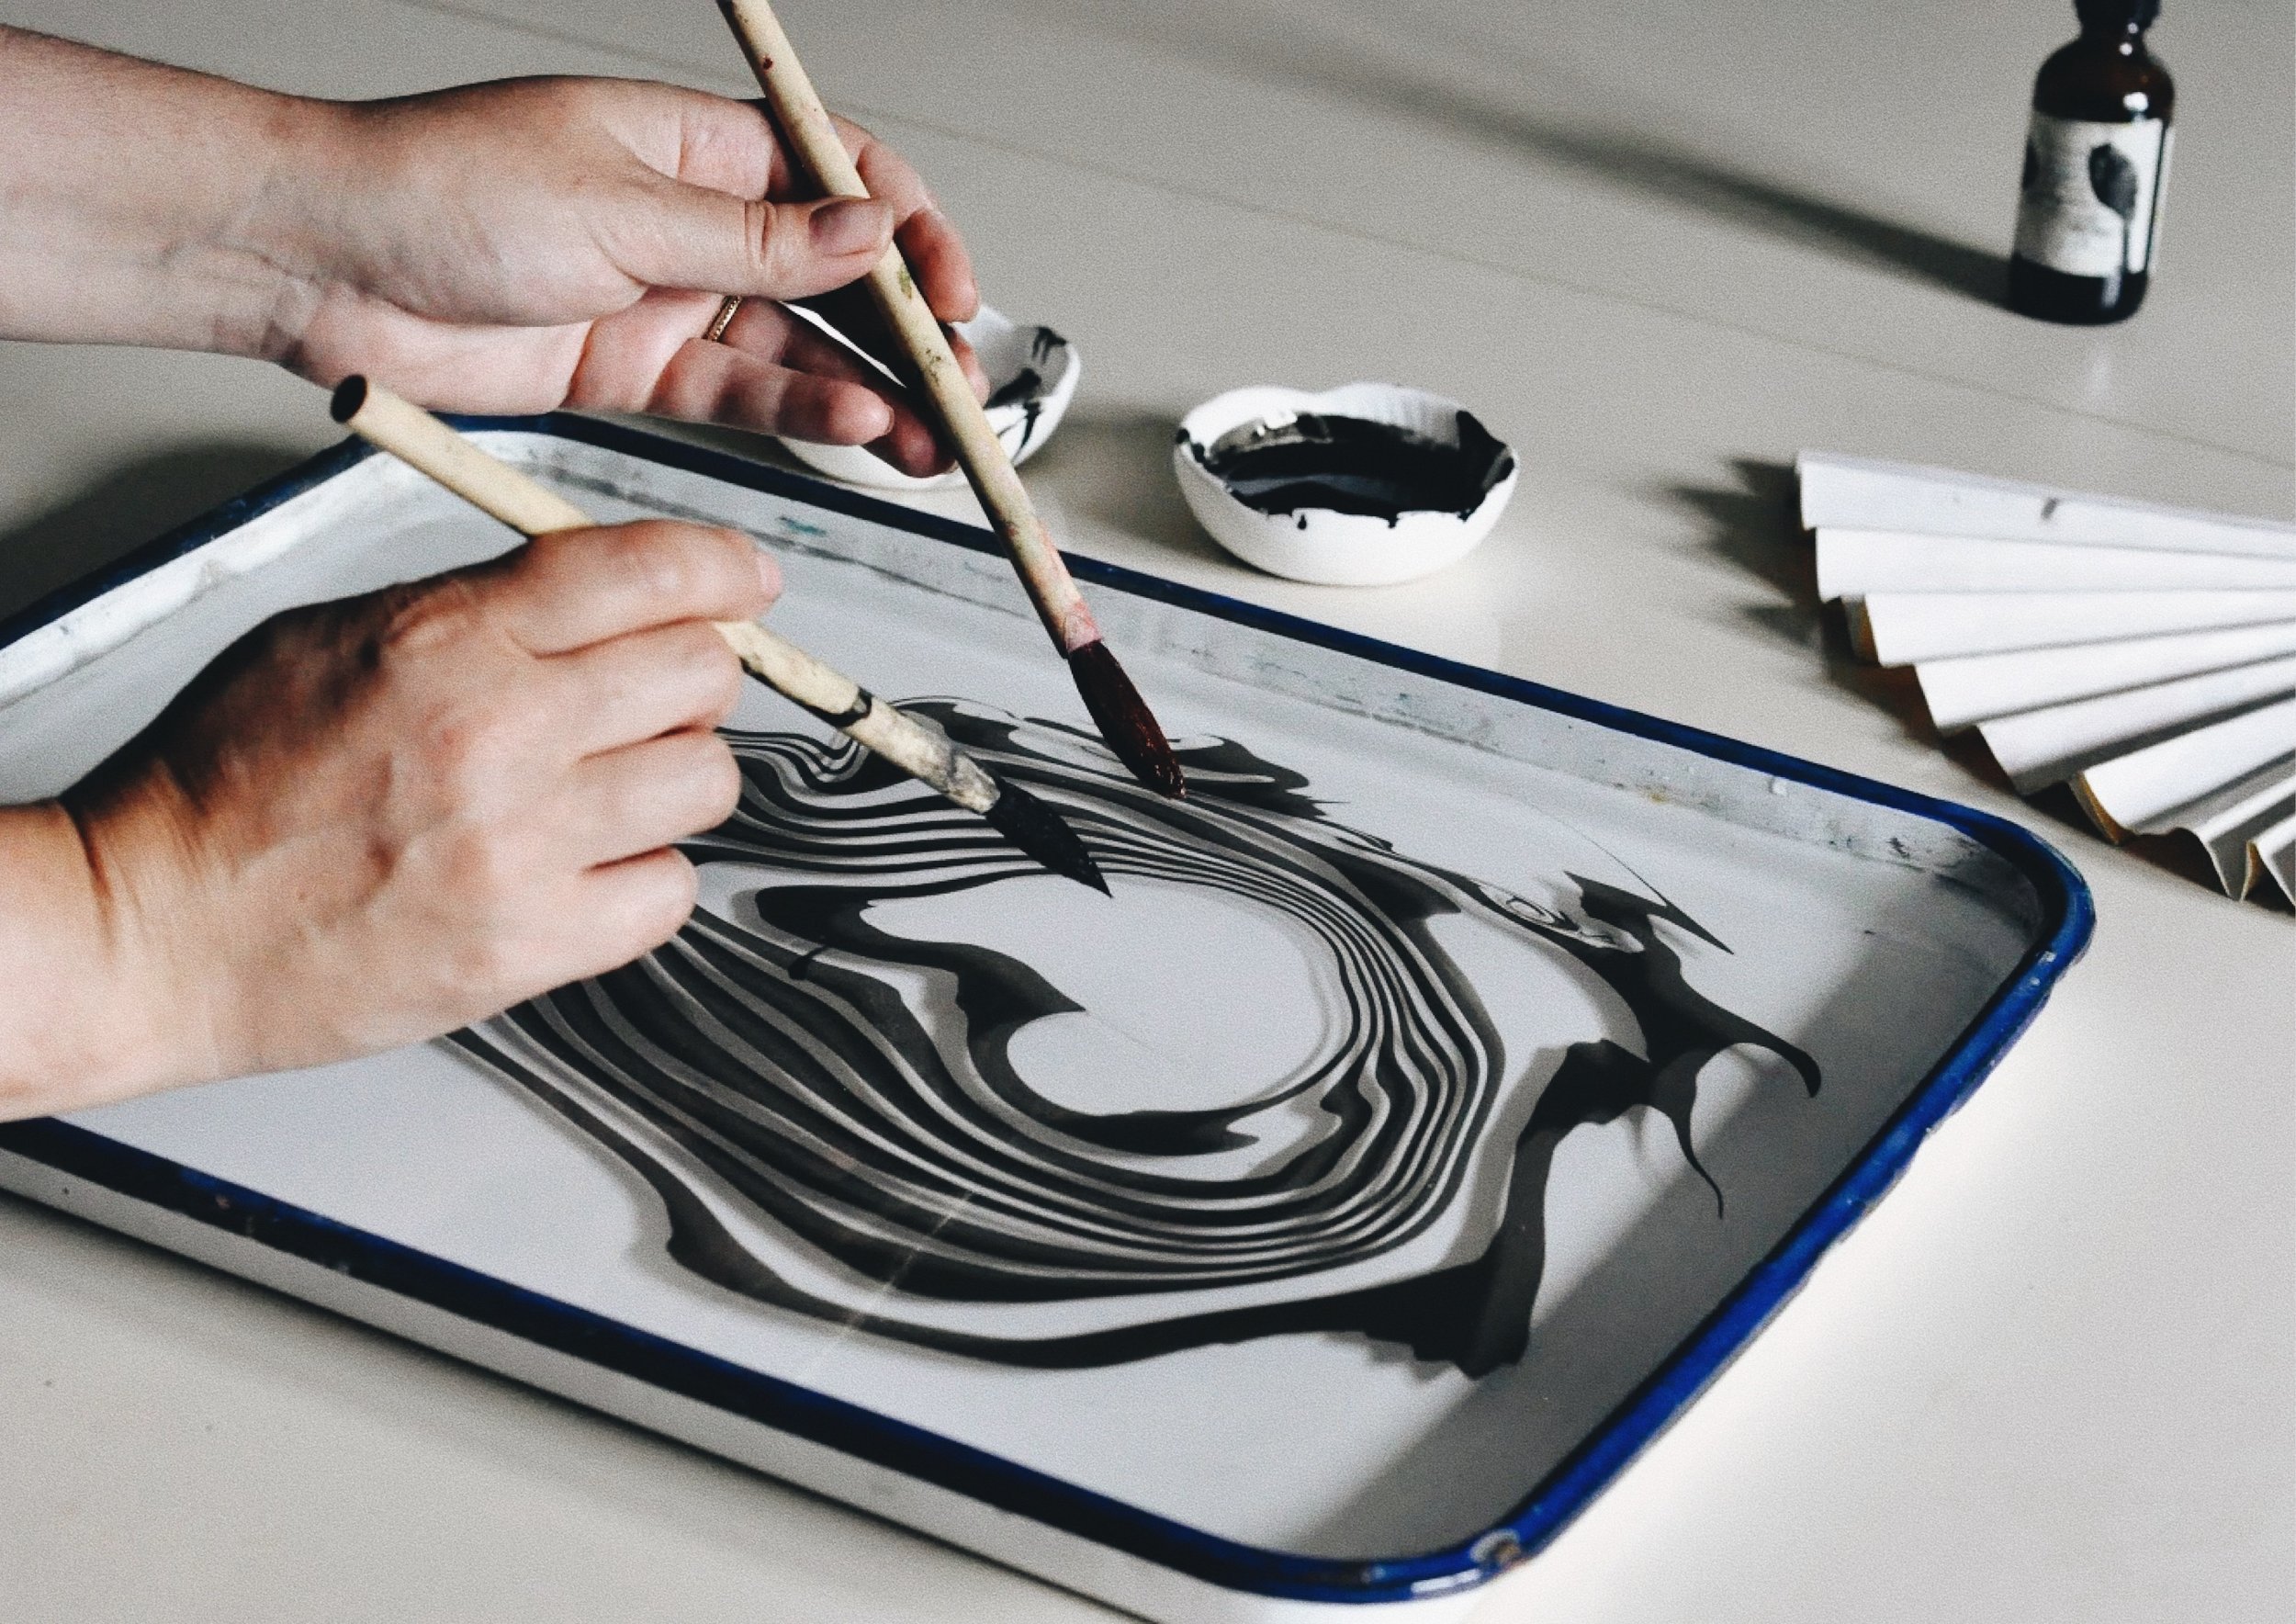
THE ART OF SUMINAGASHI (墨流し)
Suminagashi, also known as “floating ink” is the process of dripping ink carefully onto a still water surface, creating delicate swirls, and then absorbing the ink pattern by laying a sheet of white rice paper on top of the ink covered water to create a beautiful marbling effect.
Our goal was to fabricate a drawing/inking machine that used input data from a web interface to create a personalized marbling design.


MATERIALS
2 x calligraphy brushes
Acrylic panels
2 x NEMA 17 bipolar stepper motor + A4988 driver
2 x micro servo motors
2 x limit switches
Arduino Uno (later switched to ESP32)
3D modelling & printing
We modelled and 3D printed the servo motor holder, brush slider and the brush holder (which controls the height of the brush) components of the machine.


WOOD BASE
We created a wooden base to secure the machine components and water basin, as well as house the electronics. To do so, we CNC milled a 1/2" pocket cut of a 3/4" thick piece of plywood to fit the dimensions of the water basin and the electronics.


WATER BASIN
We experimented with vacuum forming and using acyrlic panels + weld to see which would be sturdier and water-tight. The vacuum-formed container was a bit too flimsy so we decided to go with the acrylic box, which was water-tight after the weld dried. We used the mini acrylic box to help determine the height we wanted for the full sized one.
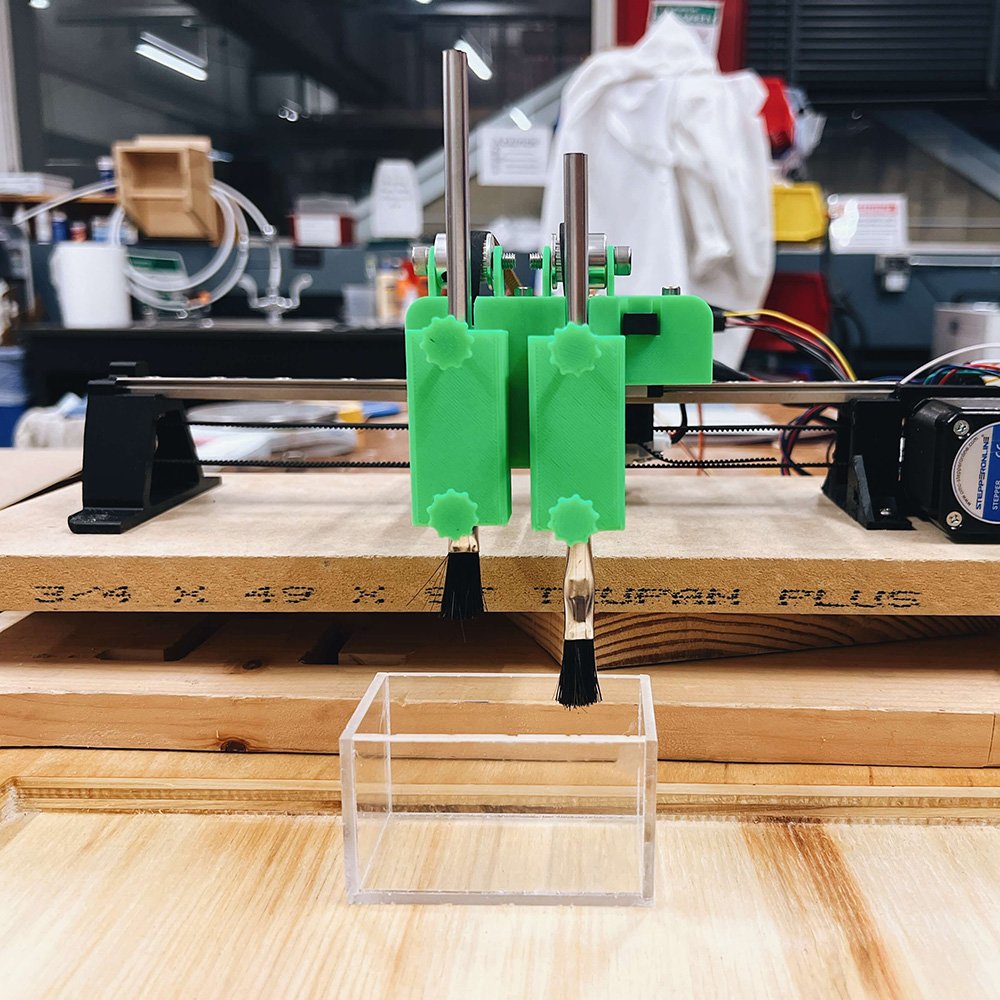


PROGRAMMING THE MOTORS
We programmed the stepper motor for the x- and y-axis . The rods tilted a bit when the y-axis moved, so we secured the linear rail more and shortened the rods.
We also tested the z-axis - we put a micro servo into the servo holder at the back end of the y-axis. When the servo rotated, it would slide the brush holder up the brush slider.
To get the x, y, and z axes to move together and dip ink into water, we used classes to keep the code organized without relying on delays. Here is the pseudo-code:
When the machine turns on/resets, move the x-axis until the limit switch is pressed, then move the machine to the center of the linear rail.
After the x-axis is zeroed, move the y-axis until the limit switch is pressed, then move the rods until it is centered (i.e., the brush slider & holder are in the center of the water basin)
Dip the left brush (loaded with coloured ink) into the water
Move machine along the x-axis until the right brush is in the same position as where the left brush was previously
Dip the right brush (loaded with surfactant only) into the water
Move machine along the x-axis until it is back in its original position
Web Server
We also wanted to connect the machine to a web interface so that you would be able to control the number of times the brush dipped into the water. To do so, we set up a Firebase server and instead of using the Arduino Uno as we had done the whole time, we swapped it for an ESP32 so that the machine could interface directly with the Firebase app.

Meet Arigeta: a Machine-Augmented Suminagashi Experience


Arigeta was a fun way for us to develop fabrication skills in a highly experimental and low-stakes way. If you’re wondering what the impact of it was, I’d say that we created a lot of delight when we showcased our machine at the ✨ class fair ✨. That’s a win in our books :)